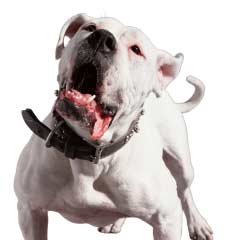
| Note: When an EPS image with a clipping path is imported into CorelDRAW, it is defined as a "cropped bitmap" where the bitmap and its mask become a single object. CorelDRAW also has a "PowerClip™" feature which is equivalent to a clipping path or mask in other drawing programs where the vector mask and bitmap image are separate objects. see Table of Equivalent Terminology |
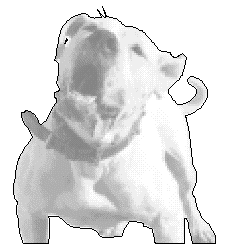
2. Click the pulldown on the toolbar to change to "Wireframe View". This will reveal the cropped outline (mask).
| Note: At this point it would seem that the most straightforward method of creating a PDF would be to use "File > Save As" or "File > Export" and choose the PDF file type. However, it has been my experience that Adobe® Acrobat® Distiller® produces the most consistent results for this purpose. |
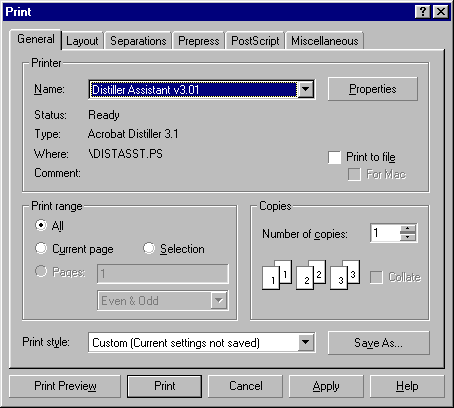
3. Click File > Print to reveal the humongous print dialog. You need to check all the settings that can affect the masked bitmap. First select the Distiller Assistant printer driver:
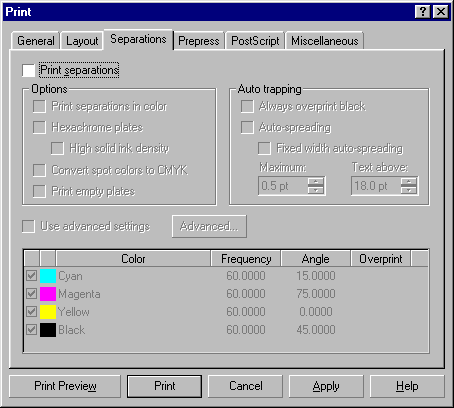
4. In the Separations tab, make sure the "Print Separations" check box is unchecked (we want a composite color output):
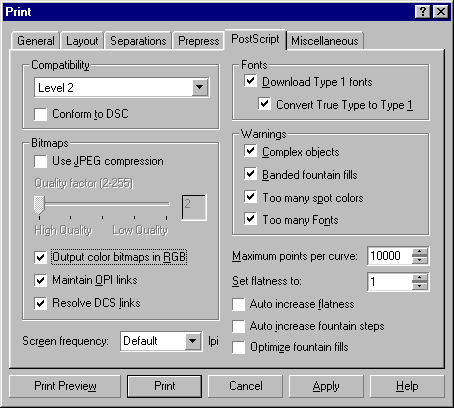
5. In the PostScript tab, there is a check box for "Output color bitmaps in RGB". In this case we want to make sure the bitmap gets printed as RGB. Also notice the check box for JPEG compression. Make sure this is not checked. The "Set flatness to:" is set to 1 in this example. This is the setting for the mask. The lower the number, the closer the mask will conform to the curves.
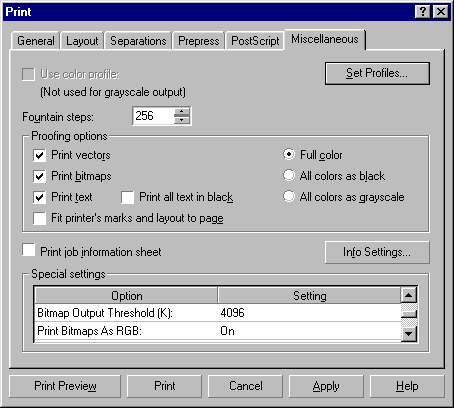
6. In the Miscellaneous tab there is a whole bunch of stuff to check. In the "Special settings" section there is a scrolling box with a lot of options. Notice the one: "Print bitmaps as RGB". Next click the "Set Profiles" button up there on the right...there's no way around it...this is an Advanced tutorial.
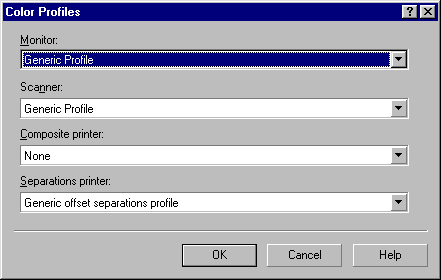
7. For now let's not use any color profiles. Make sure the composite printer profile is set to "None". This relates to step 4 above. If we had wanted separations, you would check the profile for the separations printer. Click "OK" then click the "Print" button when you return to the Miscellaneous tab.
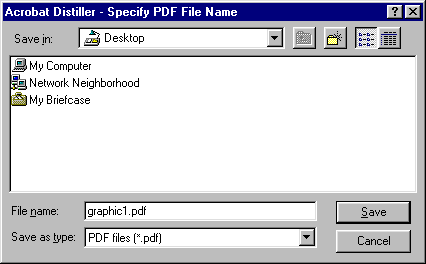
8. FINALLY! Distiller prompts you for a filename. Enter a filename or accept the default, then click "Save".


0 Reactions to this post
Add CommentPost a Comment